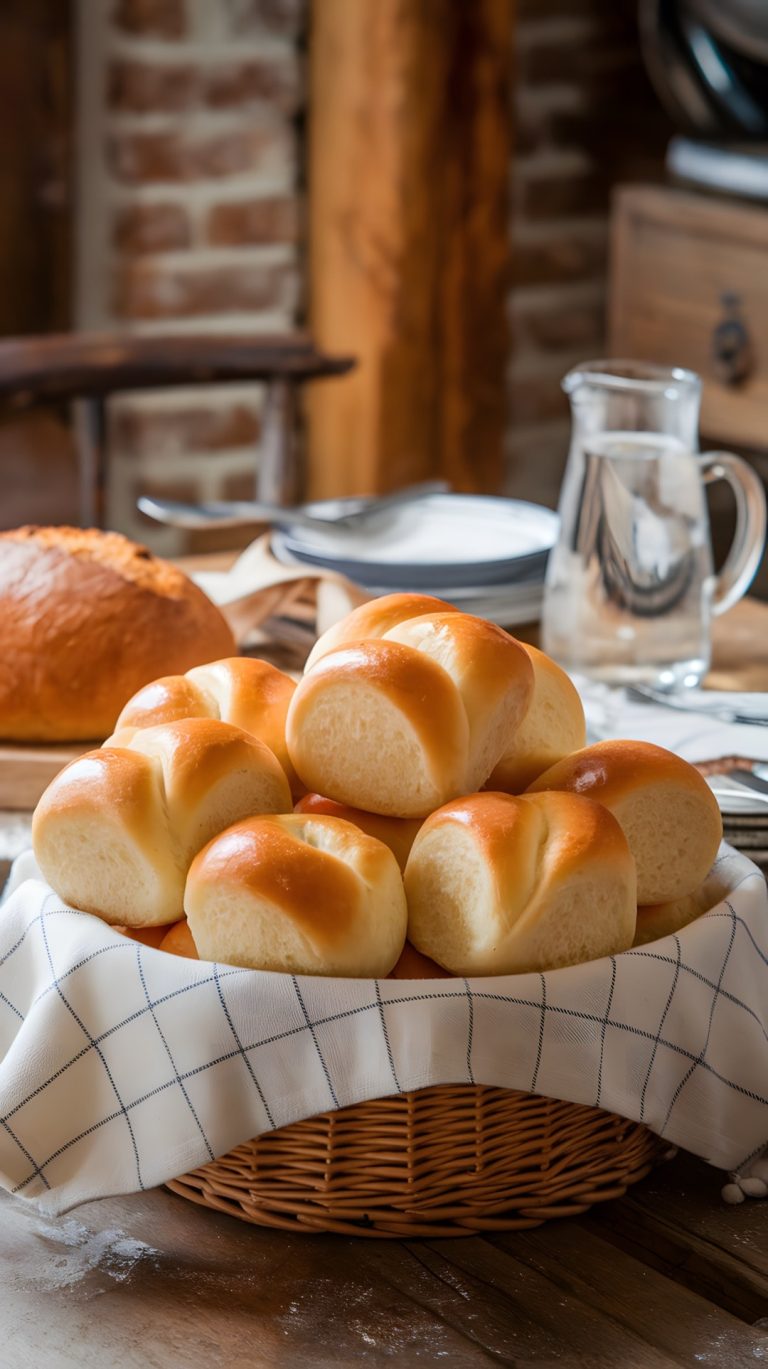
10 Delicious Vegan and Gluten-Free Dessert Recipes You’ll Love
Finding dessert recipes that are both vegan and gluten-free can feel tricky, but it doesn’t have to be! This collection is packed with simple, scrumptious treats that anyone can whip up, regardless of dietary restrictions. Dive into a world of sweet possibilities that will satisfy your cravings without any compromise.
Coconut Mango Chia Pudding
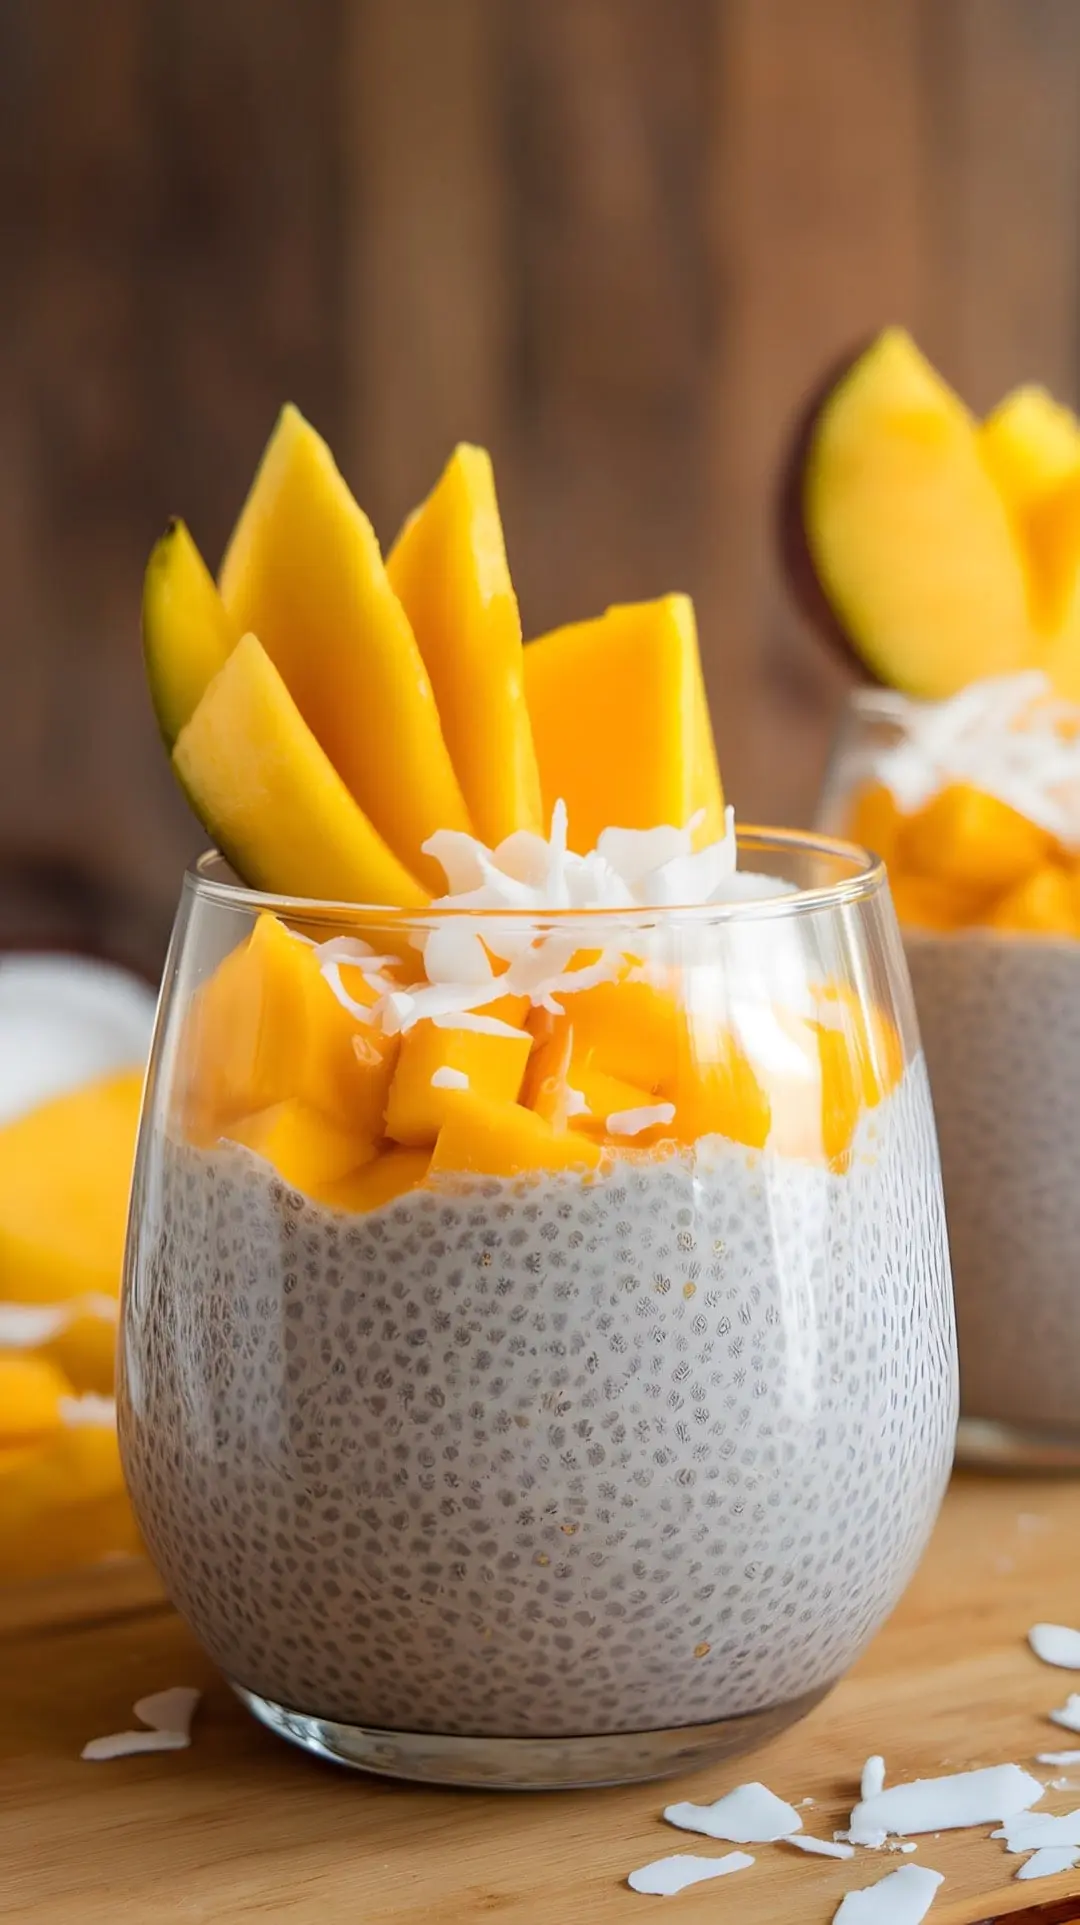
Coconut mango chia pudding is a bright and refreshing treat that’s perfect for any occasion. The creamy texture of chia seeds combines beautifully with the tropical flavors of coconut and mango. This dessert is not only vegan and gluten-free, but it also packs a nutritional punch, making it a guilt-free indulgence.
With its simple ingredients and easy preparation, this pudding is a great recipe for anyone looking to satisfy their sweet tooth while sticking to a healthy lifestyle. You’ll love the way the coconut milk melds with the chia seeds, creating a creamy base that’s enhanced by the fresh mango on top.
Chocolate Avocado Mousse
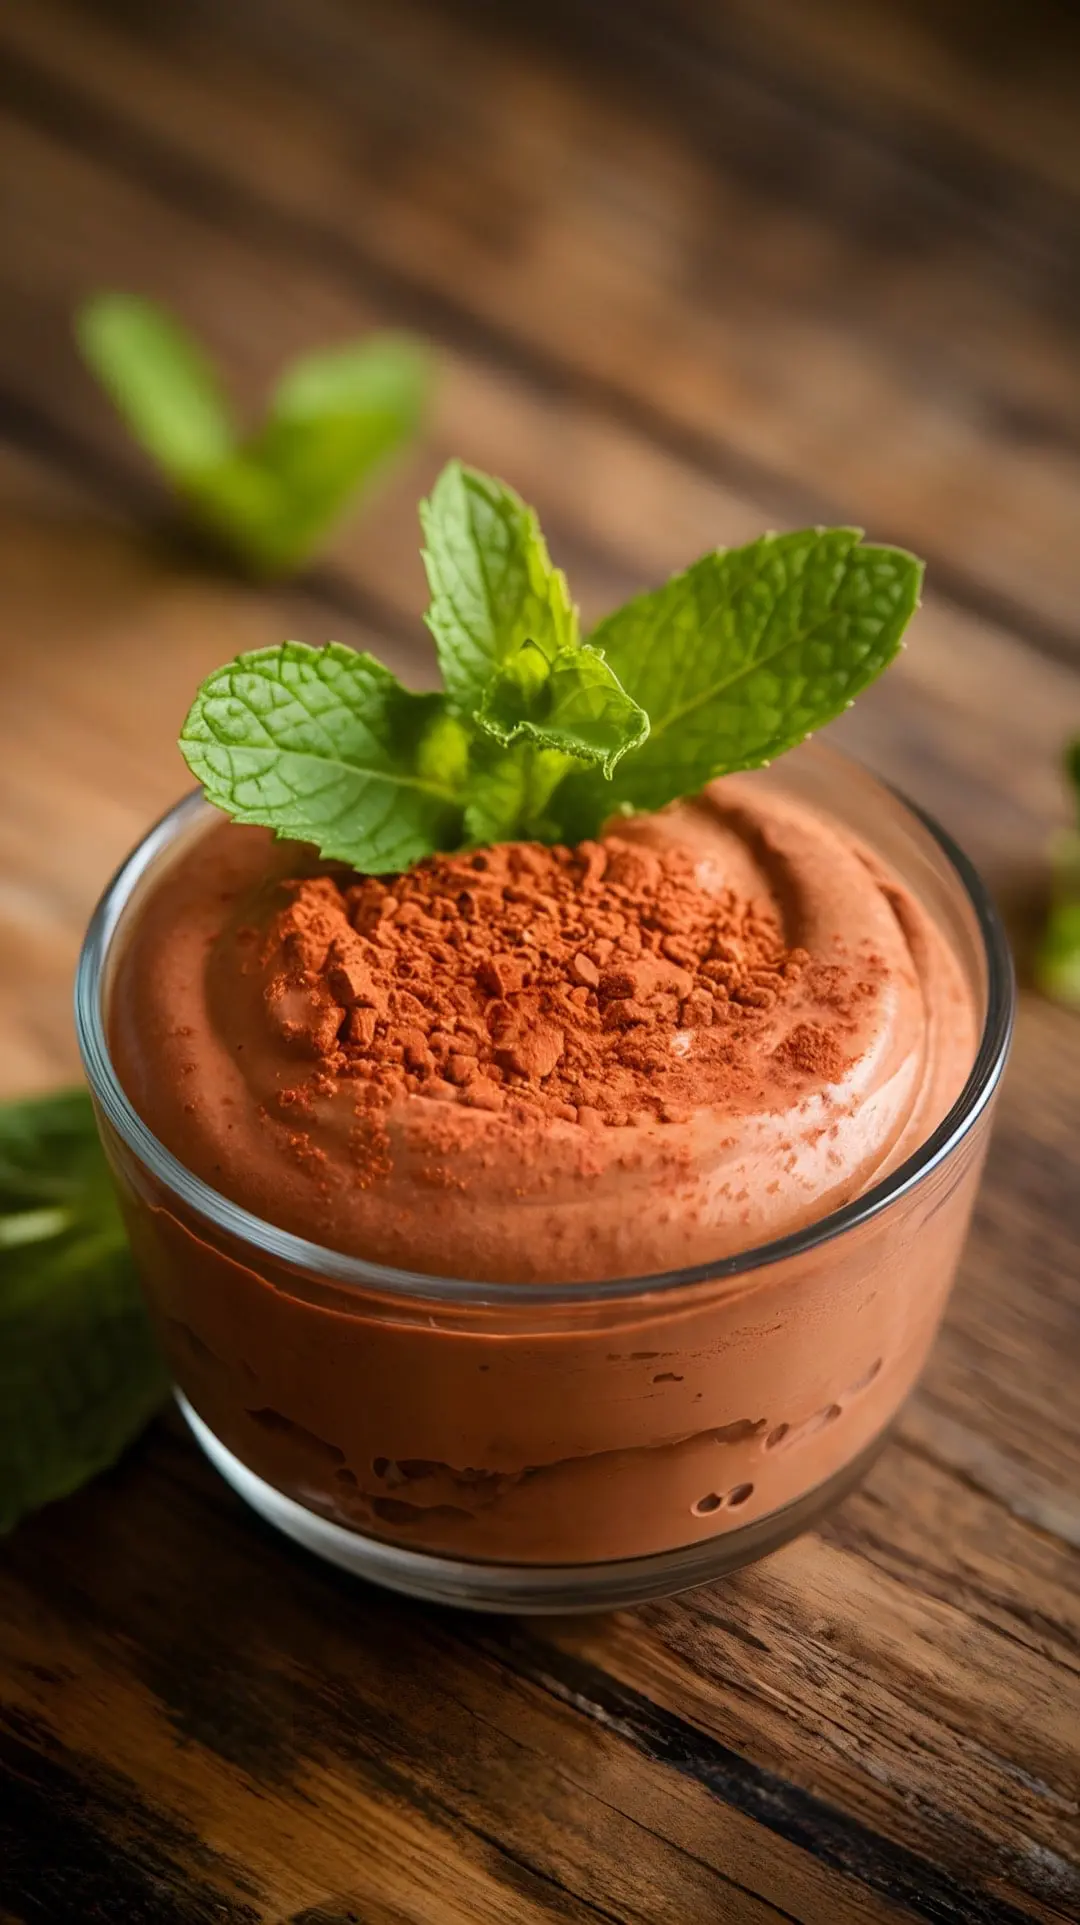
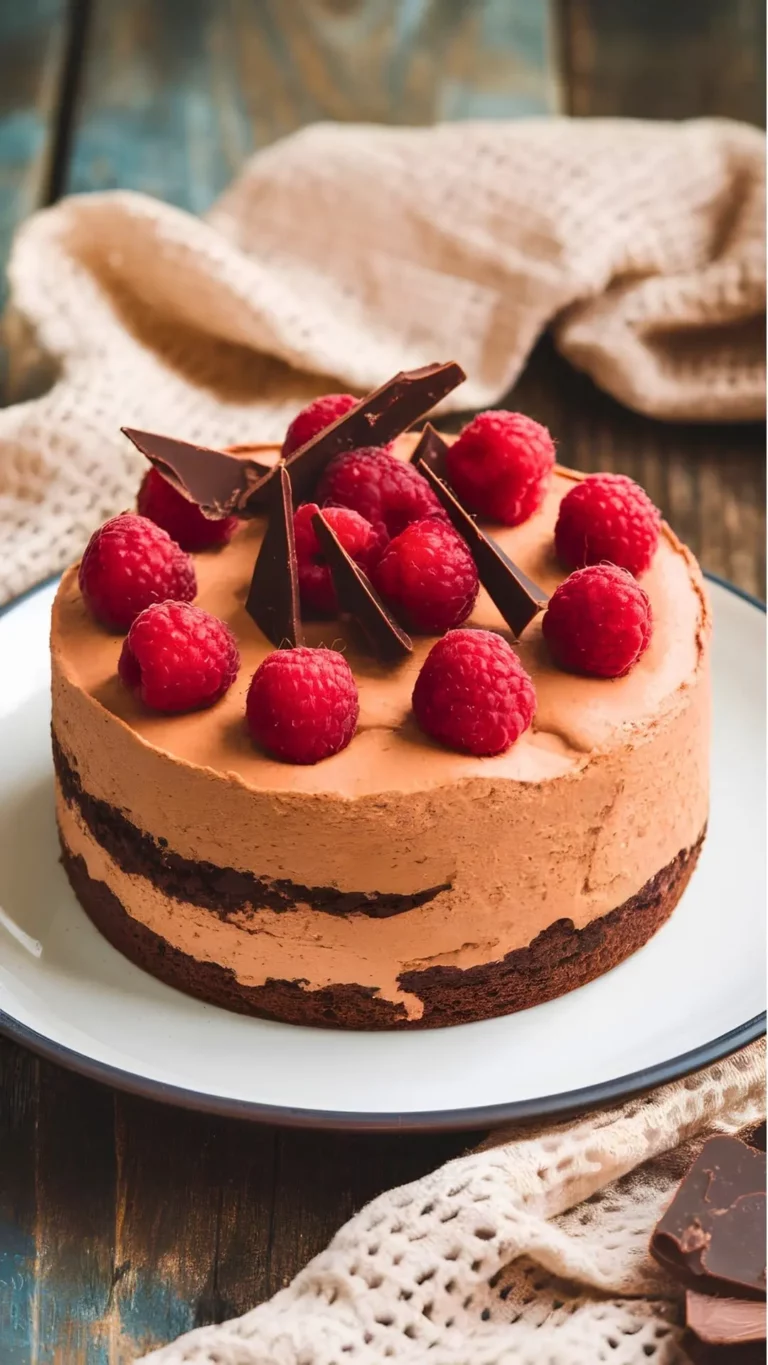
This chocolate avocado mousse is a delightful treat that is both vegan and gluten-free. It’s rich, creamy, and has a deep chocolate flavor that satisfies sweet cravings without any guilt.
Made with ripe avocados, this dessert is not only healthy but also incredibly easy to whip up. You won’t believe the main ingredient is avocado! It provides a silky texture that can rival traditional mousse recipes. If you’re looking for a quick dessert that impresses, this is it.
Ingredients
- 2 ripe avocados
- 1/2 cup unsweetened cocoa powder
- 1/4 cup maple syrup
- 1/4 cup almond milk
- 1 teaspoon vanilla extract
- Pinch of salt
- Cocoa powder for dusting
- Fresh mint leaves for garnish
Instructions
- Prepare the Avocados: Slice the avocados in half and remove the pit. Scoop the flesh into a blender or food processor.
- Blend Ingredients: Add cocoa powder, maple syrup, almond milk, vanilla extract, and a pinch of salt to the blender. Blend until smooth and creamy.
- Taste and Adjust: Taste the mixture and adjust sweetness by adding more maple syrup if desired.
- Chill: Transfer the mousse into serving cups and refrigerate for at least 30 minutes to firm up.
- Serve: Once chilled, dust with cocoa powder and garnish with fresh mint leaves before serving.
Almond Butter Energy Bites
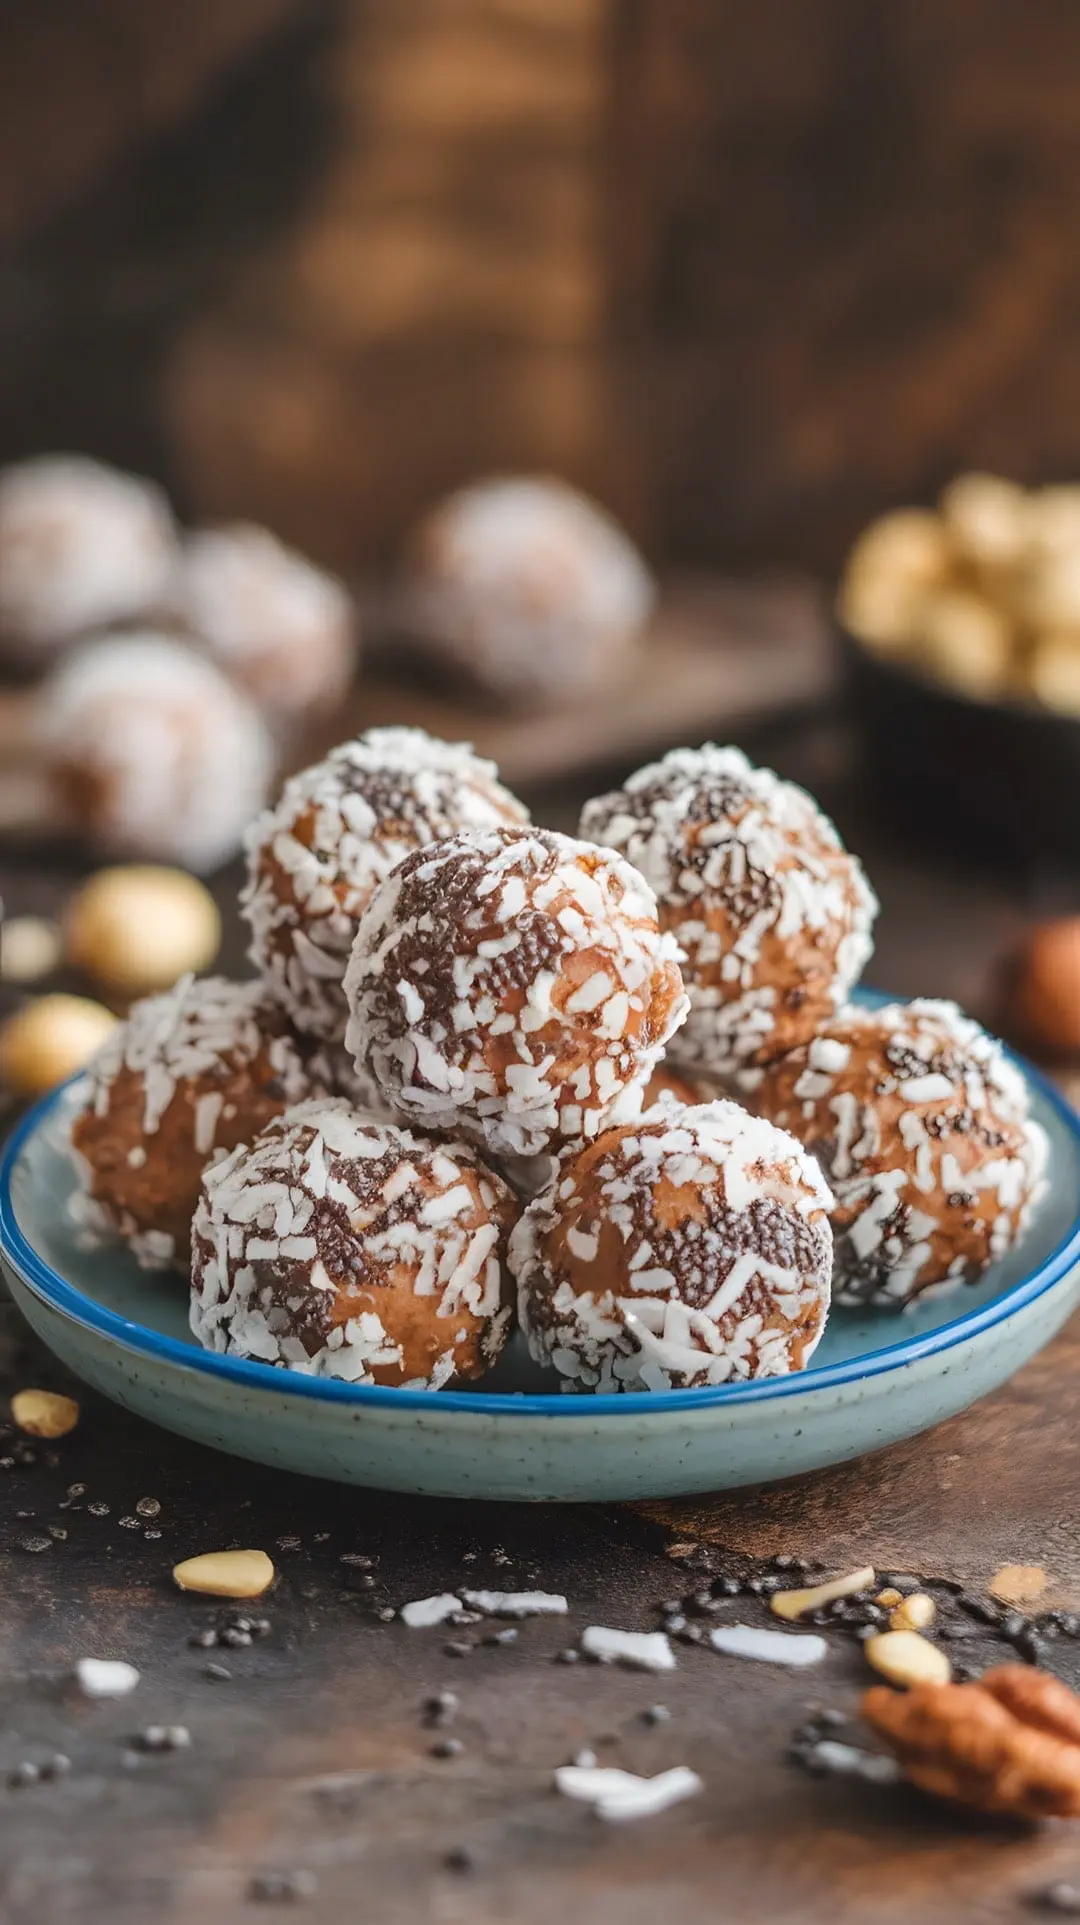
Almond Butter Energy Bites are a fantastic snack for those looking for something quick, nutritious, and satisfying. These little balls pack a punch of flavor and energy, making them perfect for a post-workout snack or a midday pick-me-up.
These energy bites are not only vegan and gluten-free but also super easy to make. You just need a few simple ingredients, and you can whip them up in no time. Ideal for meal prep, you can store them in the fridge and grab one whenever you need a snack!
Ingredients
- 1 cup almond butter
- 1/2 cup oats (gluten-free if needed)
- 1/4 cup maple syrup
- 1/4 cup chia seeds
- 1/2 cup shredded coconut
- 1/4 cup dark chocolate chips (optional)
- 1/2 teaspoon vanilla extract
- Pinch of salt
Instructions
- Mix Ingredients: In a large bowl, combine almond butter, oats, maple syrup, chia seeds, shredded coconut, chocolate chips (if using), vanilla extract, and salt. Stir until everything is well combined.
- Form the Bites: Using your hands, scoop out small portions of the mixture and roll them into bite-sized balls. Place them on a baking sheet lined with parchment paper.
- Chill: Refrigerate the energy bites for at least 30 minutes to firm up.
- Store: Keep them in an airtight container in the fridge for up to a week. Enjoy whenever you need a tasty energy boost!
Raspberry Almond Crumble Bars
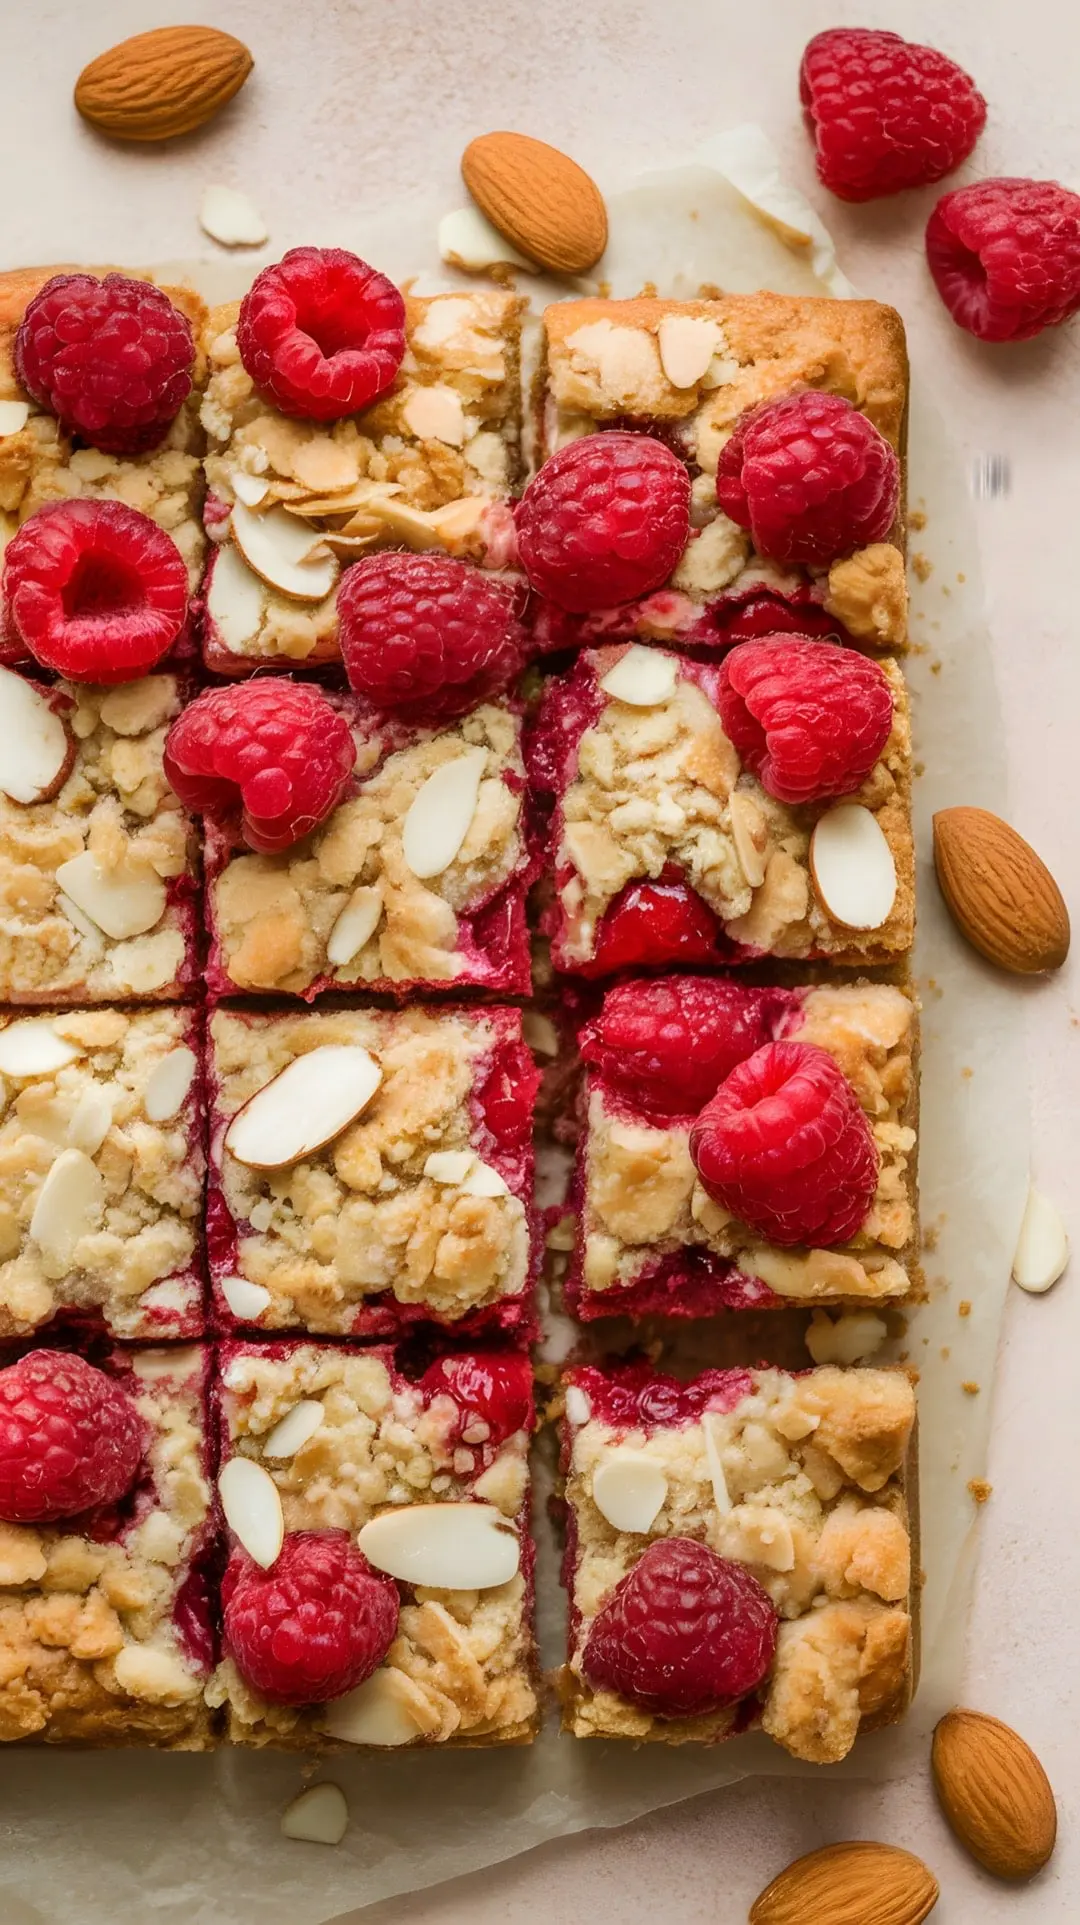
Raspberry Almond Crumble Bars are a delightful treat that perfectly balances sweetness and tartness. The vibrant red raspberries shine against the golden crumble topping, making them not just tasty but visually appealing too. This dessert is both vegan and gluten-free, which means everyone can enjoy it!
The crunchy almond topping complements the juicy raspberries beautifully. Each bite offers a burst of flavor, making it a wonderful snack or dessert for any occasion. Plus, they’re easy to make and perfect for sharing with friends or family.
Whether you’re hosting a gathering or simply want a treat for yourself, these bars are a stellar choice. They’re quick to whip up and satisfying to enjoy. Let’s get baking!
Ingredients
- 2 cups gluten-free rolled oats
- 1 cup almond flour
- 1/2 cup maple syrup
- 1/4 cup coconut oil, melted
- 1 teaspoon vanilla extract
- 1/2 teaspoon baking powder
- 1/4 teaspoon salt
- 2 cups fresh raspberries
- 1/4 cup sliced almonds (for topping)
Instructions
- Preheat the oven to 350°F (175°C) and line a baking dish with parchment paper.
- In a mixing bowl, combine oats, almond flour, baking powder, and salt.
- Add in maple syrup, melted coconut oil, and vanilla extract. Mix until combined.
- Press half of the mixture into the bottom of the prepared baking dish.
- Layer the fresh raspberries evenly on top.
- Crumble the remaining oat mixture over the raspberries and sprinkle sliced almonds on top.
- Bake for 25-30 minutes until golden brown. Let cool before slicing into bars.
Peanut Butter Chocolate Chip Blondies
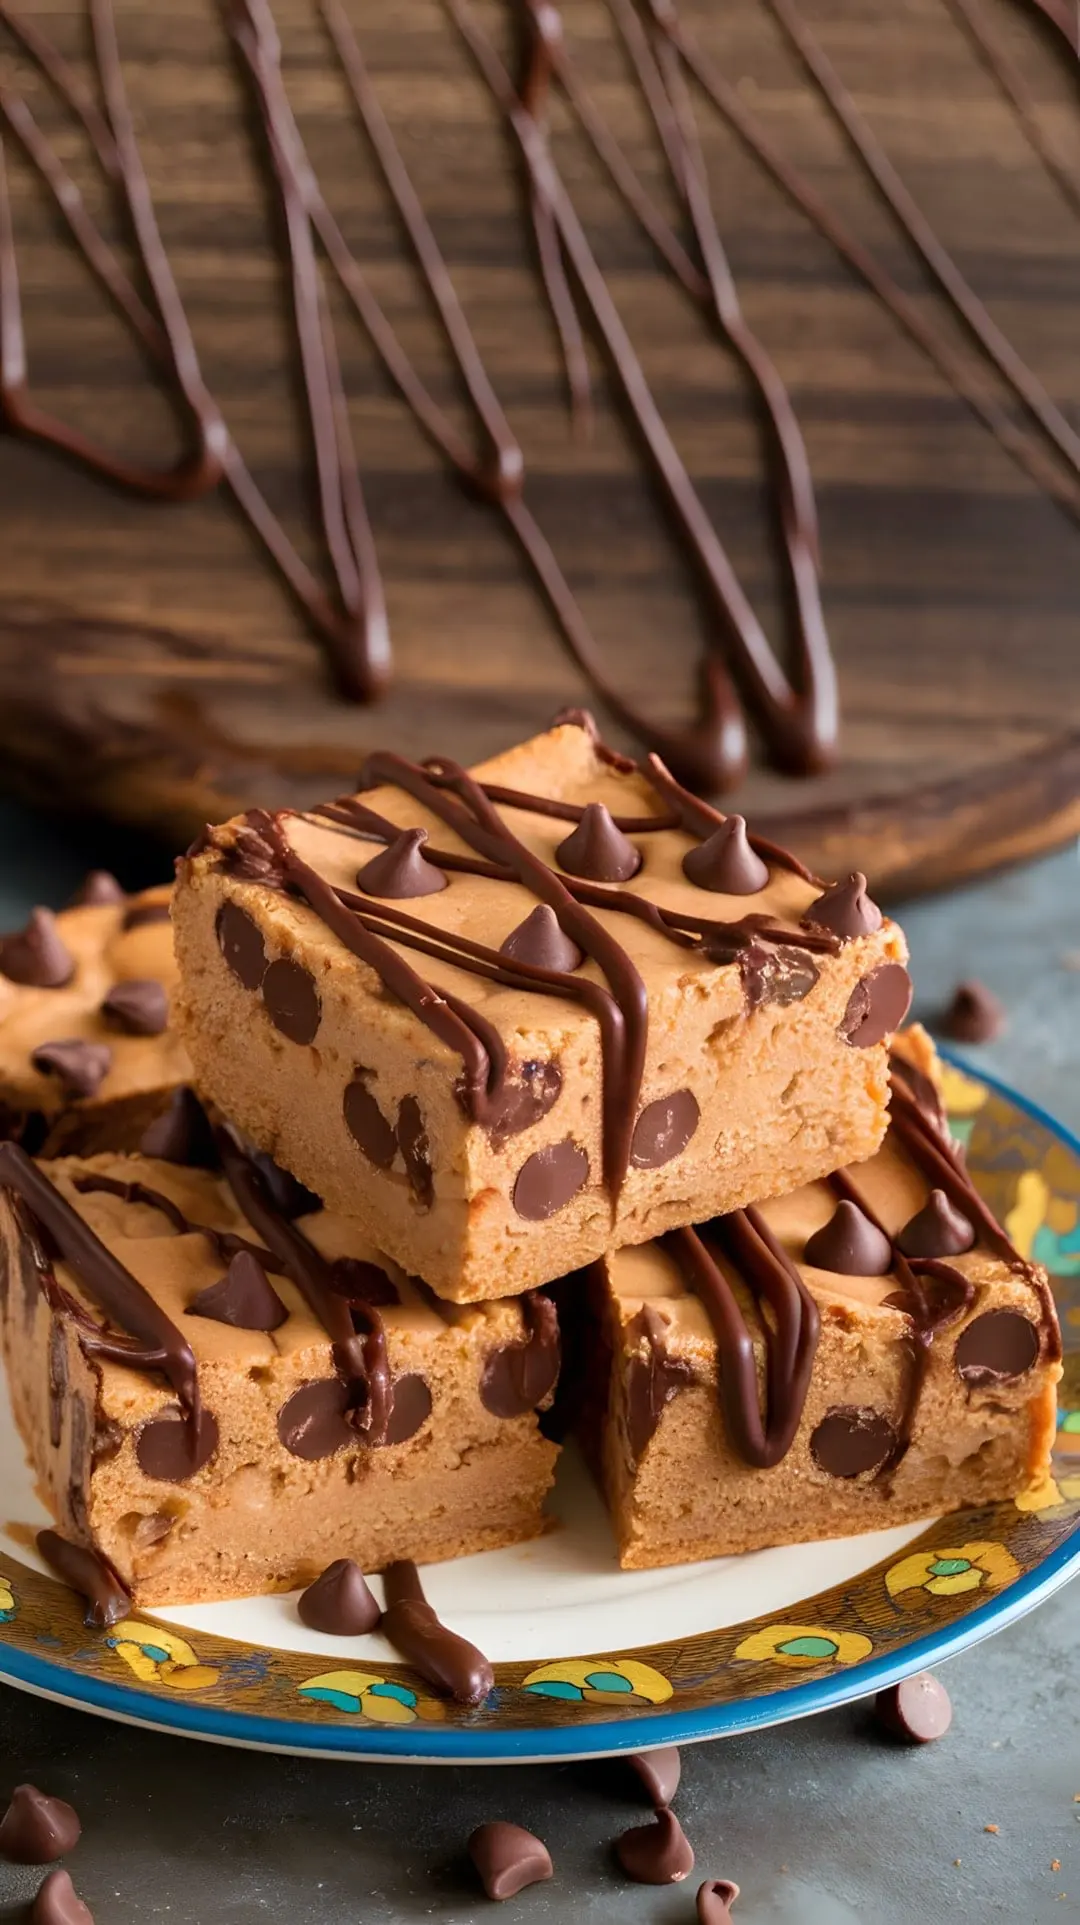
Peanut Butter Chocolate Chip Blondies are a delightful treat that everyone can enjoy. These blondies are moist and chewy, packed with creamy peanut butter and studded with chocolate chips. They offer a sweet, nutty flavor that makes them irresistible. In the image, you can see these delicious blondies drizzled with chocolate and topped with extra chocolate chips, making them look even more tempting.
These blondies are perfect for a quick dessert or a snack. They’re vegan and gluten-free, making them suitable for various dietary preferences. The combination of peanut butter and chocolate creates a rich taste that satisfies your sweet cravings without any guilt.
Whether you’re sharing with friends or keeping them all to yourself, these blondies are sure to impress. They’re easy to make, and you can whip them up in no time. Let’s get started on making these delicious treats!
Ingredients
- 1 cup natural peanut butter
- 1/2 cup maple syrup
- 1/4 cup almond flour
- 1/2 teaspoon baking soda
- 1/4 teaspoon salt
- 1/2 cup dairy-free chocolate chips
- 1/4 cup melted coconut oil
Instructions
- Preheat your oven to 350°F (175°C) and line an 8×8 inch baking dish with parchment paper.
- In a mixing bowl, combine peanut butter, maple syrup, and melted coconut oil. Stir until smooth.
- Add in almond flour, baking soda, and salt. Mix until well combined.
- Fold in the chocolate chips, reserving a few for topping.
- Pour the mixture into the prepared baking dish and spread it evenly. Top with reserved chocolate chips.
- Bake for 20-25 minutes or until the edges are golden brown. Allow to cool before slicing.
Banana Oatmeal Cookies
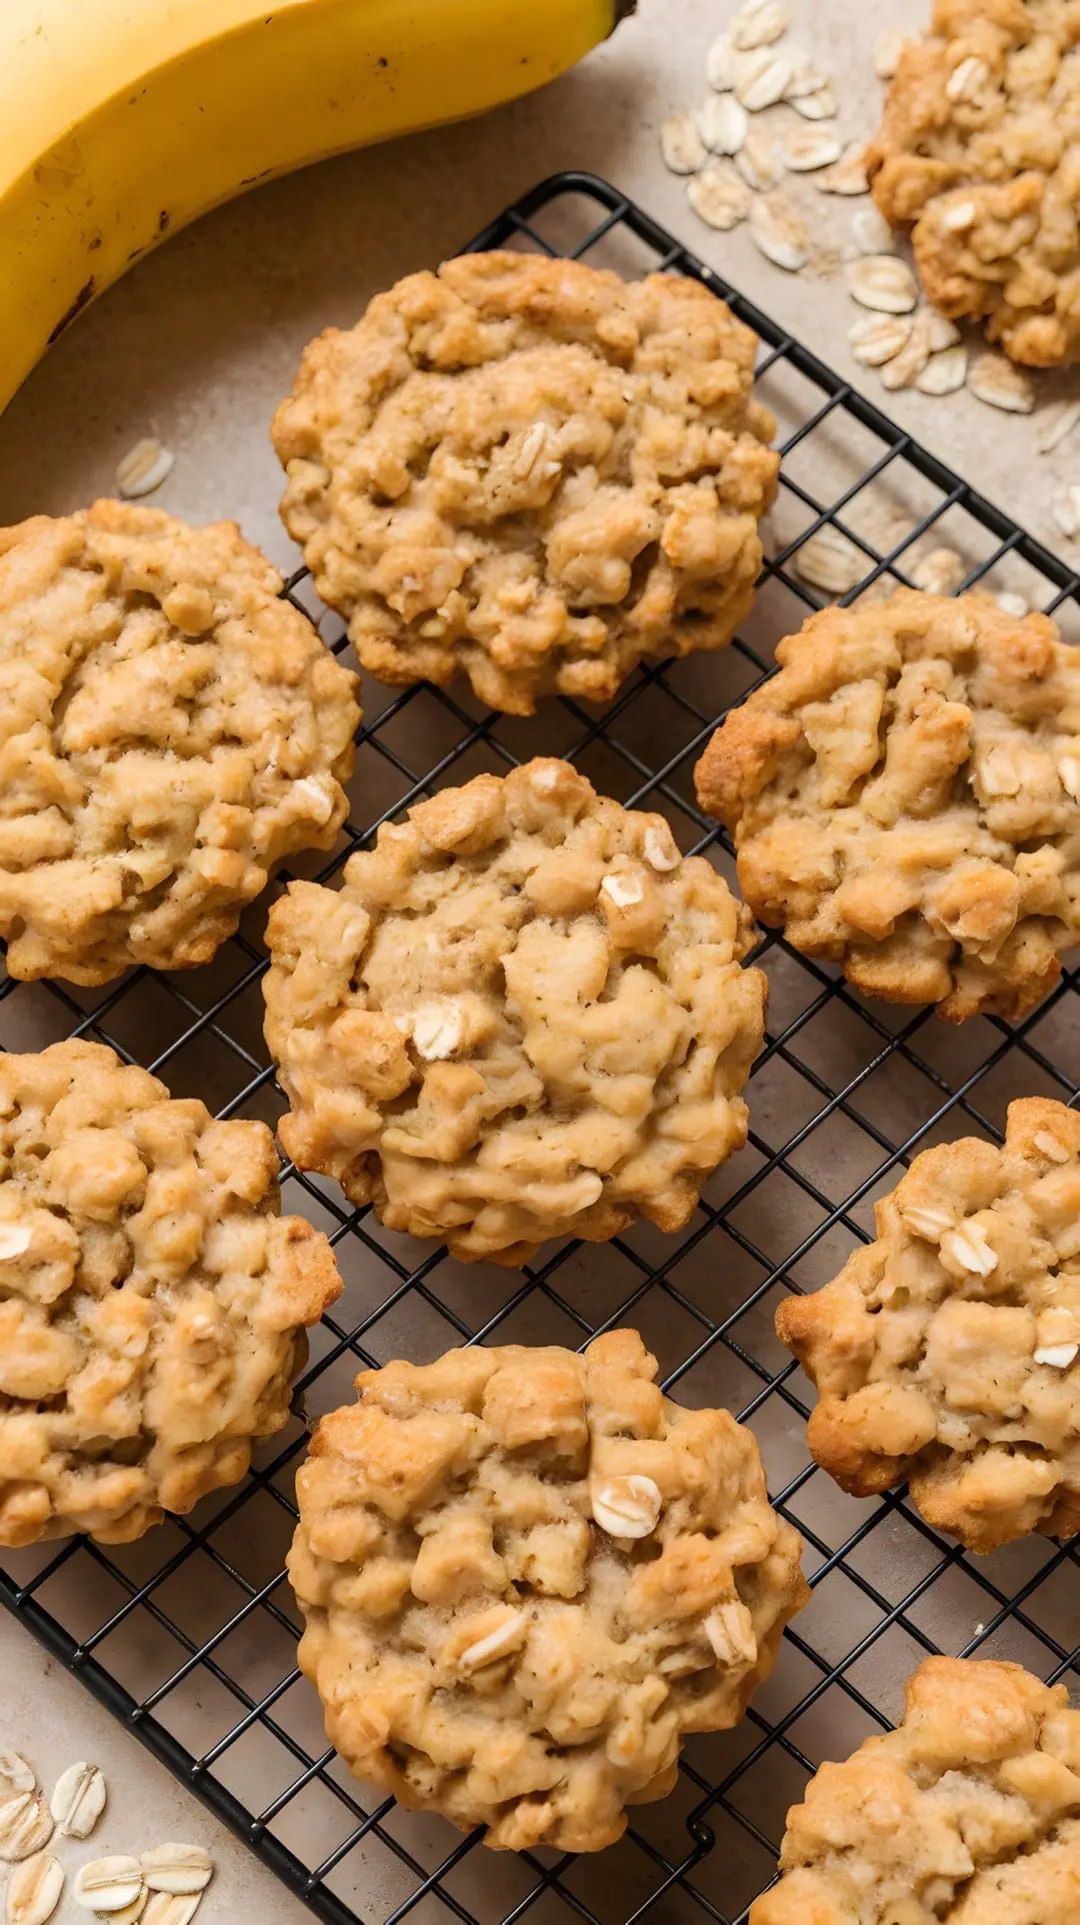
Banana oatmeal cookies are the perfect treat for anyone looking to satisfy their sweet tooth while keeping things healthy. These cookies are soft, chewy, and packed with flavor. The combination of ripe bananas and oats creates a delightful texture that makes them hard to resist.
These cookies are great for breakfast, snacks, or even dessert. They pack well, making them ideal for lunchboxes or on-the-go treats. Plus, they’re perfect for using up those overripe bananas sitting on your counter.
Ingredients
- 2 ripe bananas, mashed
- 1 cup rolled oats
- 1/4 cup almond butter
- 1/4 cup maple syrup
- 1 teaspoon vanilla extract
- 1/2 teaspoon baking soda
- 1/4 teaspoon salt
- 1/2 teaspoon cinnamon
- 1/3 cup dark chocolate chips (optional)
Instructions
- Preheat your oven to 350°F (175°C) and line a baking sheet with parchment paper.
- In a bowl, mix the mashed bananas, almond butter, maple syrup, and vanilla extract until smooth.
- Add the rolled oats, baking soda, salt, cinnamon, and chocolate chips (if using). Stir until combined.
- Drop spoonfuls of the cookie mixture onto the prepared baking sheet, spacing them a few inches apart.
- Bake for 12-15 minutes or until the edges are golden brown.
- Let them cool on the baking sheet for a few minutes before transferring to a wire rack to cool completely.
Raw Chocolate Coconut Balls
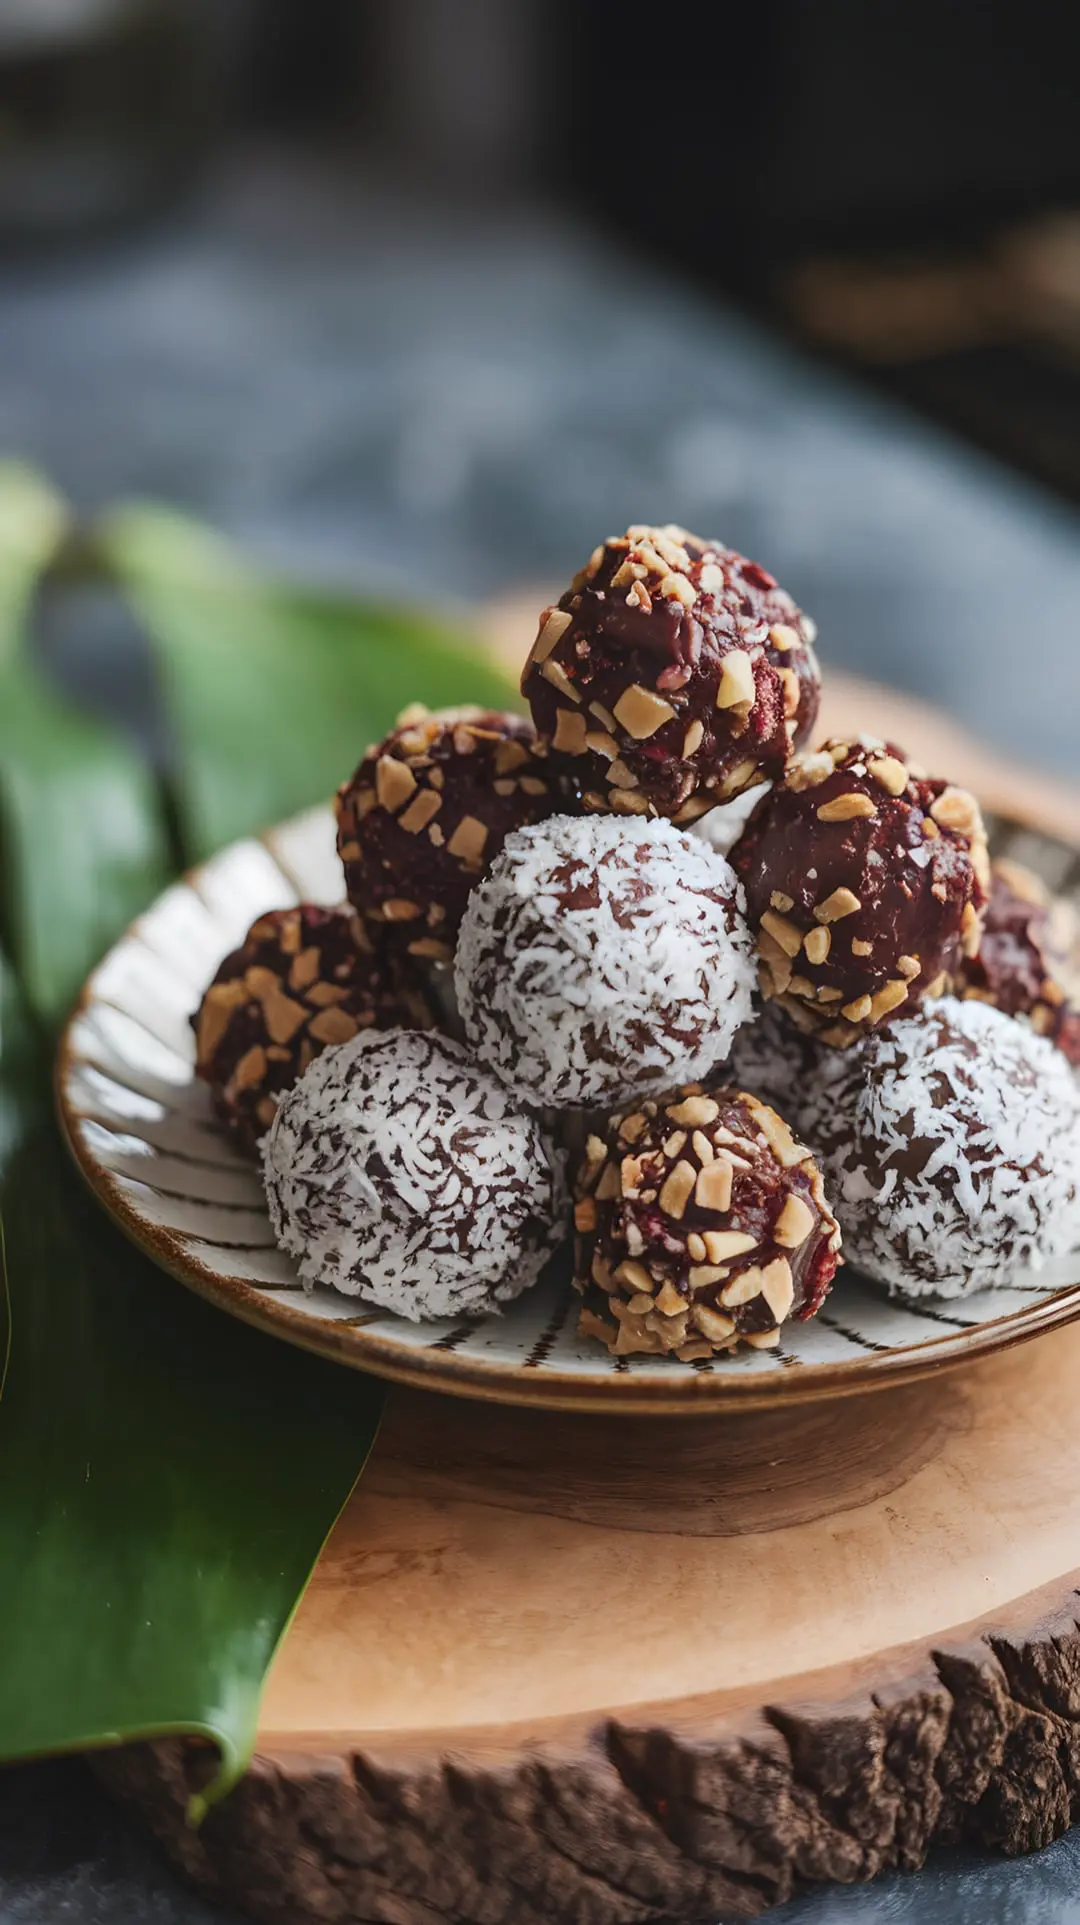
These Raw Chocolate Coconut Balls are a delightful treat for anyone who loves a sweet snack without the guilt. Made from simple, natural ingredients, these bites are both vegan and gluten-free. They are perfect for a quick energy boost or a sweet finish to a meal. The combination of coconut and chocolate creates a rich flavor that is hard to resist. Plus, they are easy to make, needing just a few steps!
Whether you’re serving them at a party or enjoying them as a personal treat, these Raw Chocolate Coconut Balls will surely please. And the best part? You can feel good about what you’re eating!
Ingredients
- 1 cup shredded coconut
- 1/2 cup almond flour
- 1/4 cup cocoa powder
- 1/4 cup maple syrup
- 1/4 cup almond butter
- 1 teaspoon vanilla extract
- A pinch of sea salt
Instructions
- In a mixing bowl, combine shredded coconut, almond flour, cocoa powder, maple syrup, almond butter, vanilla extract, and sea salt.
- Mix everything well until a dough forms. If it’s too dry, add a little more almond butter or maple syrup.
- Roll the mixture into small balls, about one inch in diameter.
- Coat the balls in additional cocoa powder if desired.
- Place them on a plate and refrigerate for at least 30 minutes to firm up.
Berry Nice Cream
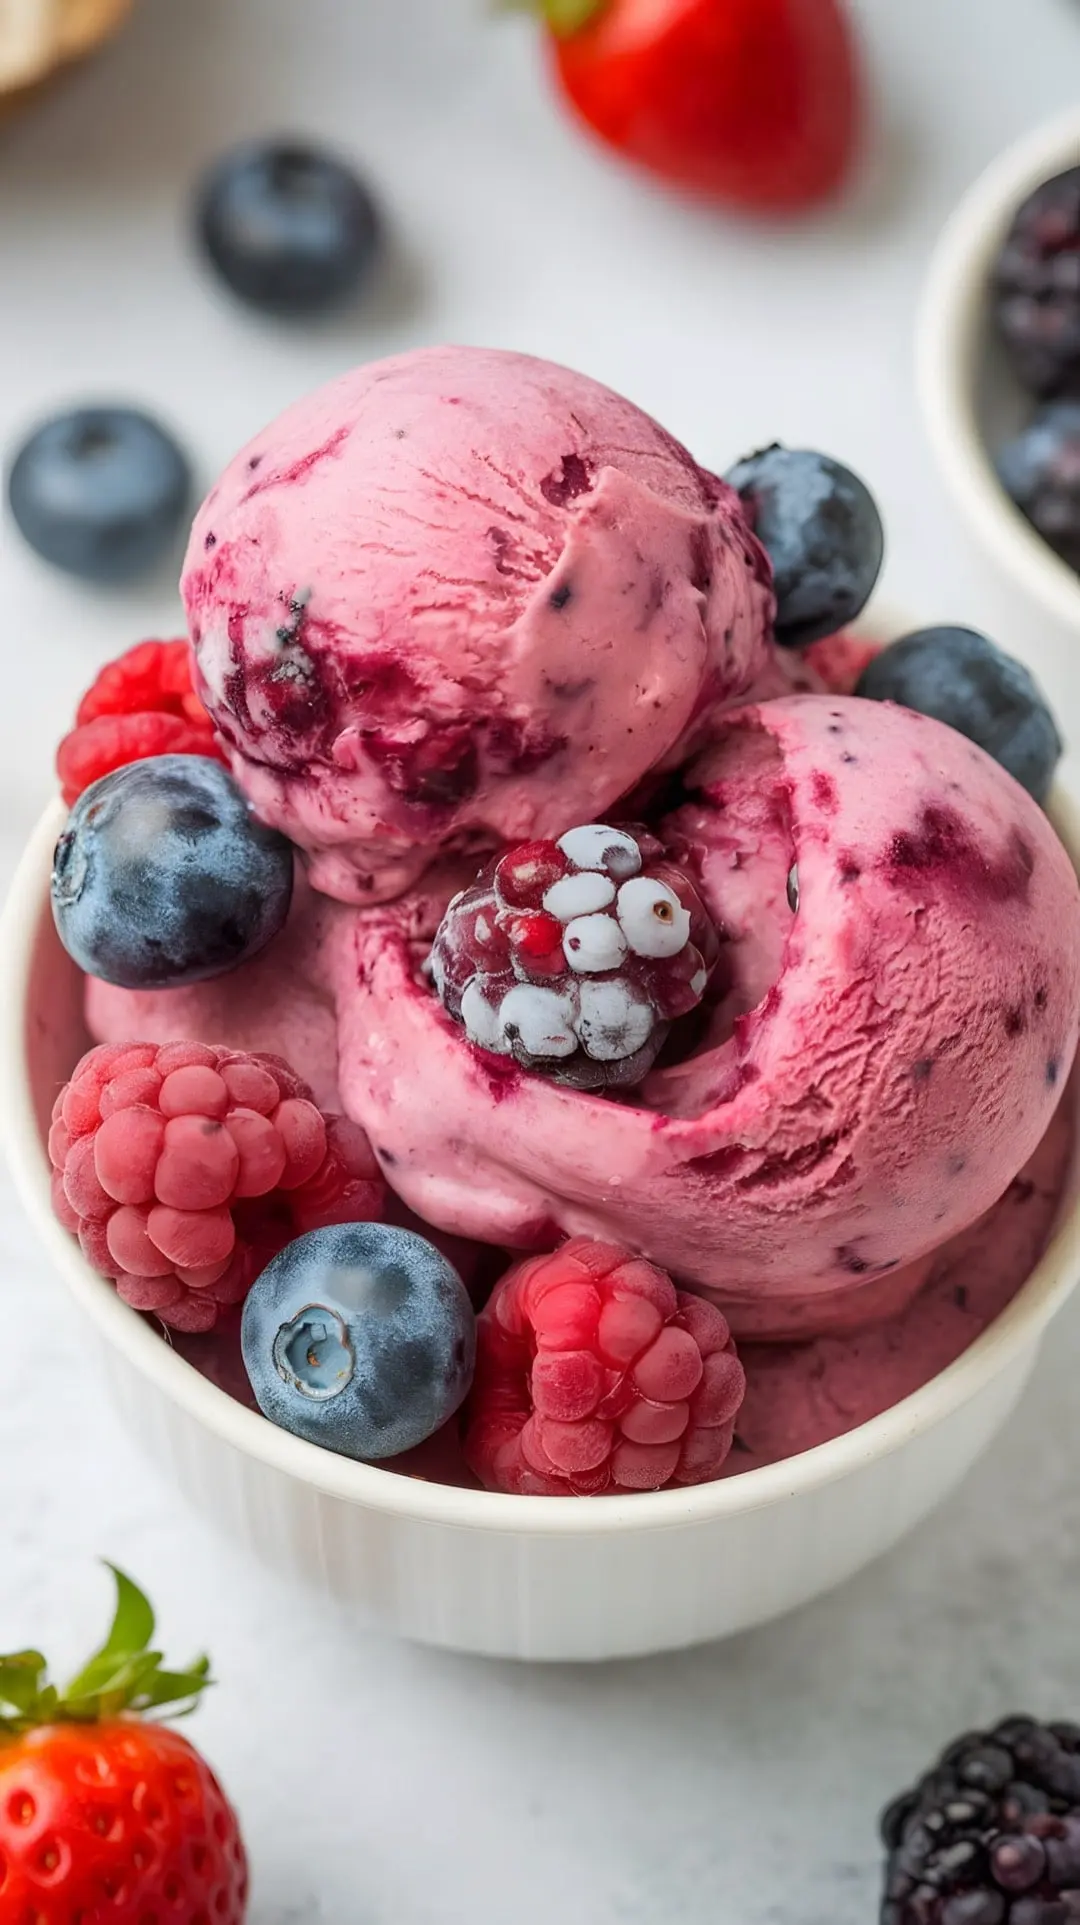
Berry Nice Cream is a delightful, creamy dessert that’s perfect for warm days. This vegan and gluten-free treat features vibrant scoops of ice cream made from mixed berries, creating a colorful and inviting dish. The rich pink hues of the nice cream promise a refreshing flavor that’s bursting with berry goodness.
In the image, you can see generous scoops of this nice cream, topped with a variety of fresh berries like blueberries, raspberries, and blackberries. Each scoop is smooth and creamy, making it look irresistible. The combination of textures and colors adds to its appeal, making it a favorite for both kids and adults.
This recipe is not just easy to make, but it also allows you to enjoy a guilt-free dessert. With no dairy and gluten, it caters to various dietary needs while still satisfying your sweet tooth. Grab your favorite berries and let’s make some Berry Nice Cream!
Ingredients
- 3 cups mixed berries (strawberries, blueberries, raspberries, blackberries)
- 1 can coconut milk (full-fat for creaminess)
- 1/4 cup maple syrup (adjust for sweetness)
- 1 teaspoon vanilla extract
- 1 tablespoon lemon juice
Instructions
- Blend the Berries: In a blender, combine the mixed berries, coconut milk, maple syrup, vanilla extract, and lemon juice. Blend until smooth.
- Taste and Adjust: Taste the mixture and add more maple syrup if you prefer it sweeter. Blend again if needed.
- Freeze the Mixture: Pour the berry mixture into a freezer-safe container. Cover and freeze for about 4-6 hours, or until firm.
- Scoop and Serve: Once frozen, let it sit at room temperature for a few minutes to soften. Scoop into bowls and top with additional fresh berries if desired.
Lemon Coconut Sorbet
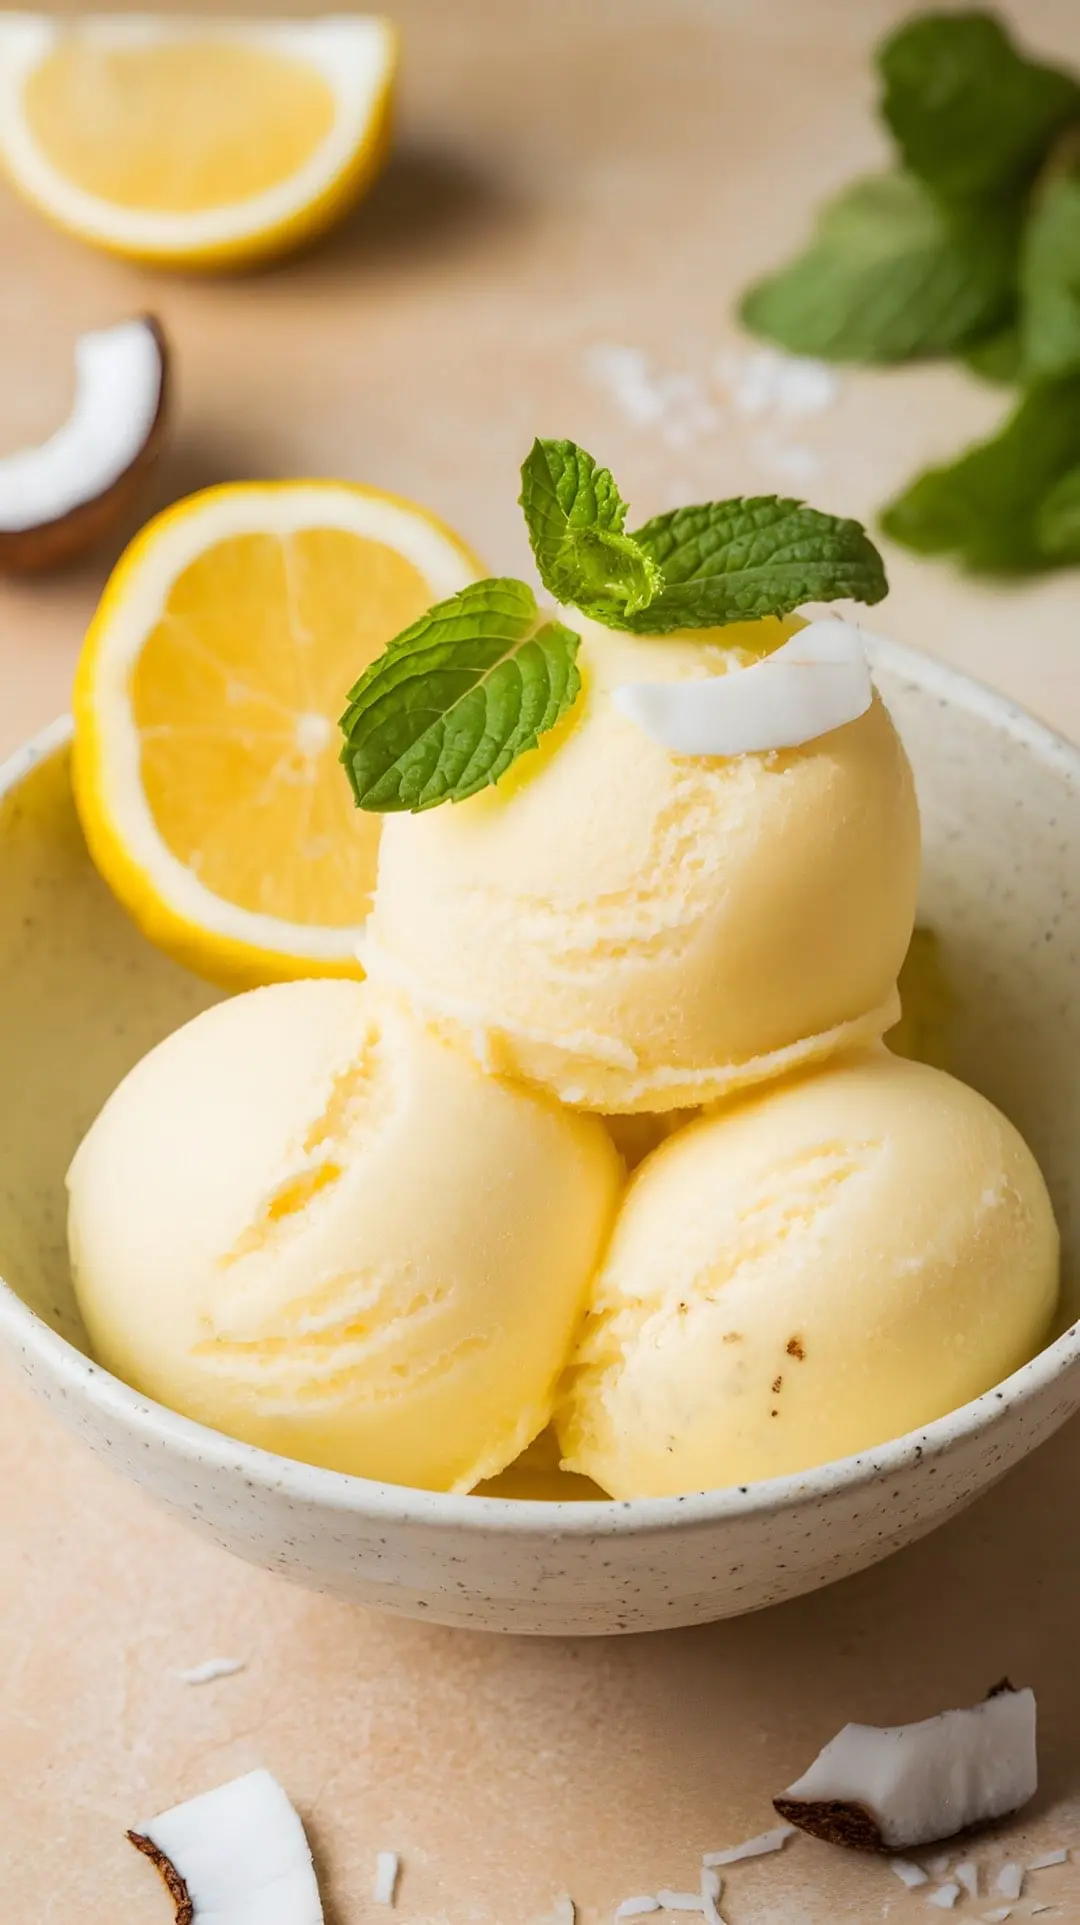
This Lemon Coconut Sorbet is a refreshing treat that captures the essence of summer in every scoop. The bright yellow color comes from fresh lemons, while the coconut adds a creamy texture, making it a perfect dairy-free dessert.
In the image, you can see three perfectly scooped balls of sorbet, artfully placed in a simple bowl. The sorbet is garnished with a sprig of mint and a slice of lemon, adding a pop of color.
This dessert is not only vegan and gluten-free, but it’s also easy to make. It’s a fantastic way to cool down on a hot day or to impress guests with a delightful finish to any meal.
Ingredients
- 2 cups fresh coconut water
- 1 cup fresh lemon juice
- 3/4 cup agave syrup or maple syrup
- 1 cup coconut cream
- Zest of 2 lemons
- Pinch of salt
Instructions
- In a blender, combine coconut water, lemon juice, agave syrup, coconut cream, lemon zest, and salt. Blend until smooth.
- Pour the mixture into a shallow dish and place it in the freezer.
- Every 30 minutes, stir the mixture with a fork to break up ice crystals until the sorbet is fully frozen and fluffy, about 3-4 hours.
- Once ready, scoop the sorbet into bowls and enjoy!
Apple Cinnamon Flaxseed Muffins
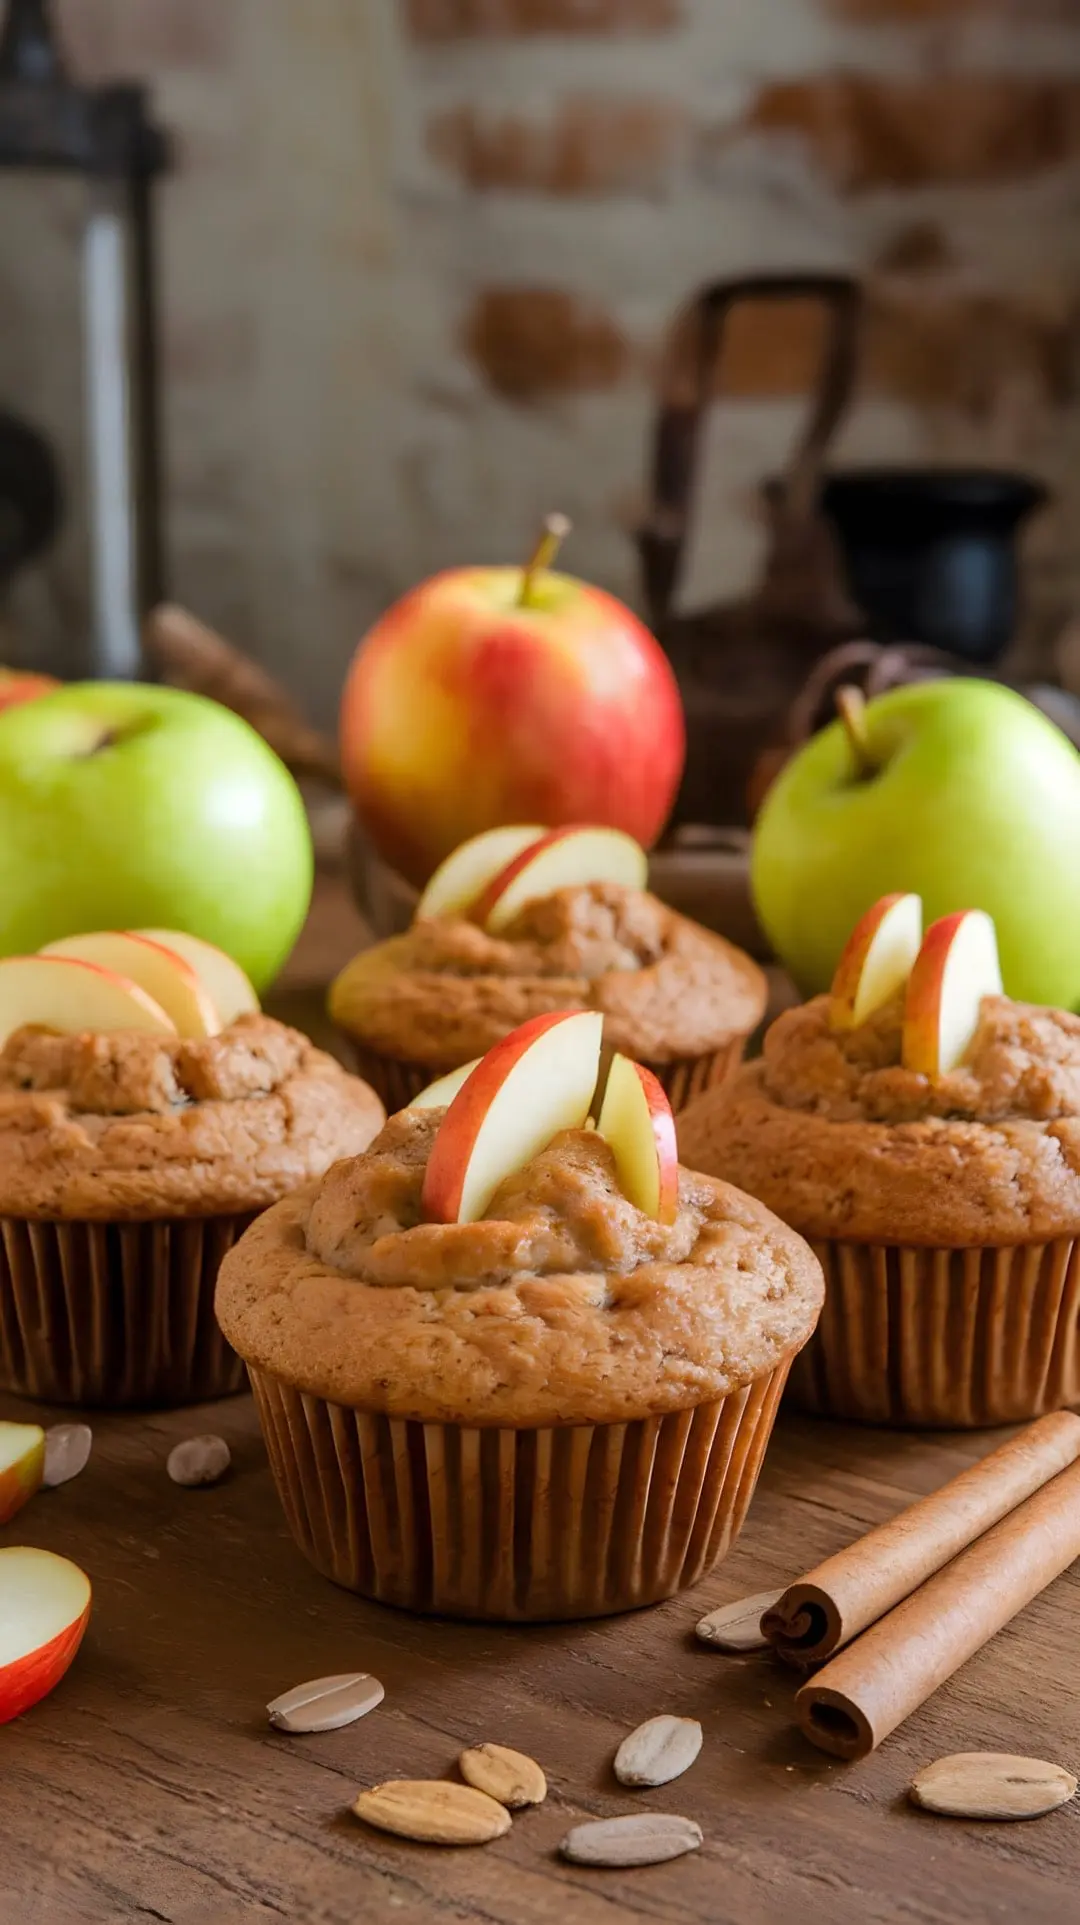
These Apple Cinnamon Flaxseed Muffins are a delightful treat that perfectly blend sweetness and spice. With their golden brown tops and slices of fresh apple on top, they look inviting and delicious.
The aroma of cinnamon fills the air, hinting at the warm flavors within each bite. Flaxseed adds a nutty depth and boosts the nutritional value, making these muffins a guilt-free indulgence. They are vegan and gluten-free, so anyone can enjoy them.
Perfect for breakfast or a midday snack, these muffins are easy to make and incredibly satisfying. Serve them warm with a cup of tea or coffee, and you’ll have a moment of pure bliss.
Ingredients
- 1 cup almond flour
- 1/2 cup ground flaxseed
- 1 teaspoon baking soda
- 1 teaspoon baking powder
- 1 teaspoon ground cinnamon
- 1/4 teaspoon salt
- 1/2 cup maple syrup
- 1 cup unsweetened applesauce
- 1 teaspoon vanilla extract
- 1/2 cup diced apples (any variety)
Instructions
- Preheat oven to 350°F (175°C) and line a muffin tin with paper liners.
- In a large bowl, mix almond flour, ground flaxseed, baking soda, baking powder, cinnamon, and salt.
- In another bowl, combine maple syrup, applesauce, and vanilla extract. Stir until well blended.
- Pour the wet ingredients into the dry ingredients and mix until just combined. Fold in the diced apples.
- Divide the batter evenly among the muffin cups. Top with a few extra apple slices for garnish.
- Bake for 20-25 minutes or until a toothpick inserted comes out clean. Let them cool before serving.
