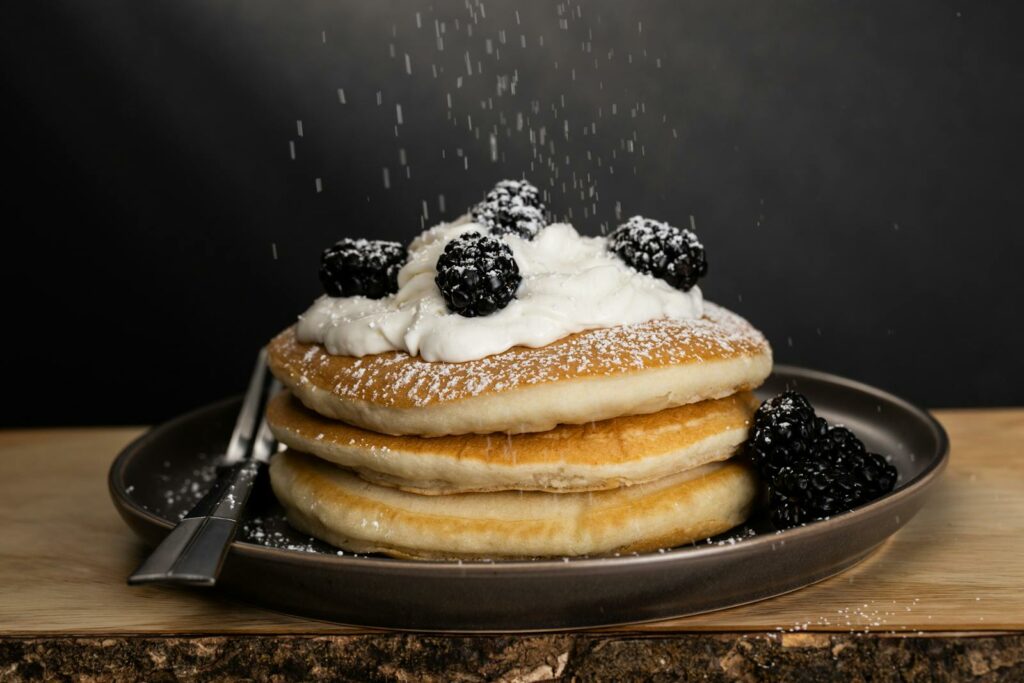
Fluffy Gluten-Free Pancakes with Whipped Coconut Cream
Gluten-Free Pancakes Recipe
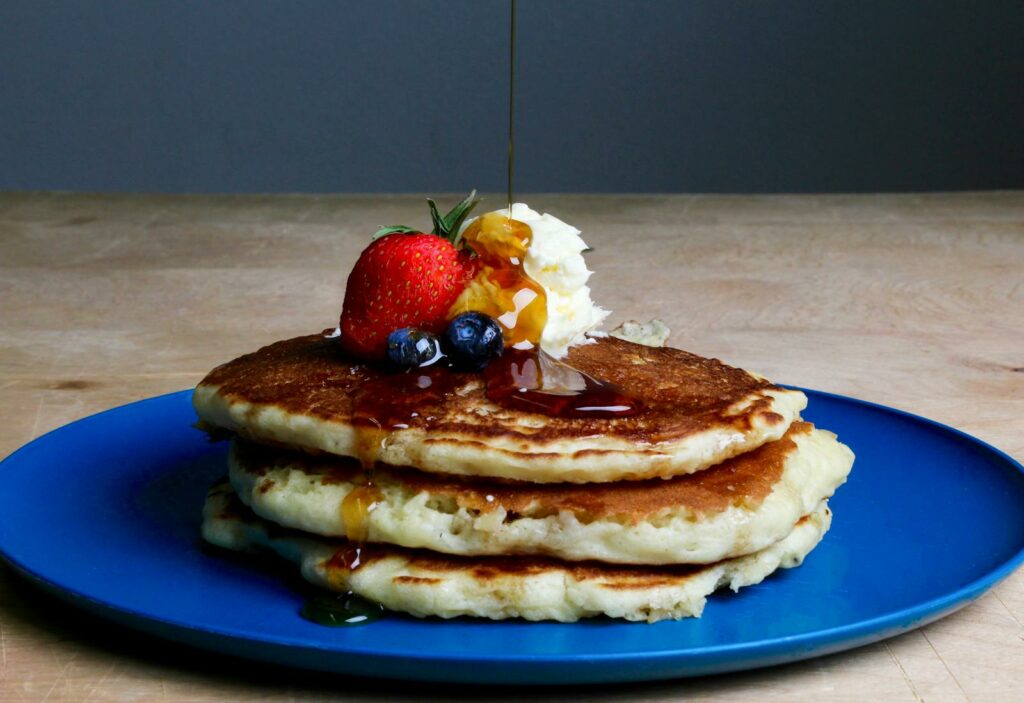
There’s nothing quite like waking up to the aroma of fresh pancakes sizzling on the griddle. For those who are gluten-sensitive or prefer a gluten-free lifestyle, finding the perfect pancake recipe can be a challenge. But worry no more! These fluffy gluten-free pancakes are not only light and airy but also deliciously satisfying. Topped with a generous dollop of whipped coconut cream, they are the perfect treat for a lazy weekend brunch or a special breakfast occasion.
Whether you’re new to gluten-free cooking or a seasoned pro, this recipe is simple, quick, and guaranteed to impress. So, let’s dive into the recipe and get ready to flip some fluffy, golden pancakes that everyone will love!
Prep and Cook Time
- Preparation Time: 10 minutes
- Cook Time: 20 minutes
- Total Time: 30 minutes
Nutritional Information
- Servings: 4 (2 pancakes per serving)
- Calories per Serving: Approximately 250 calories
Ingredients
For the Pancakes:
| Ingredient | Quantity |
|---|---|
| Gluten-free all-purpose flour | 1 cup |
| Baking powder | 1 tablespoon |
| Baking soda | 1/4 teaspoon |
| Salt | 1/4 teaspoon |
| Sugar | 2 tablespoons |
| Buttermilk | 1 cup |
| Egg | 1 large |
| Vanilla extract | 1 teaspoon |
| Butter (melted) | 2 tablespoons |
For the Whipped Coconut Cream:
| Ingredient | Quantity |
|---|---|
| Coconut cream (chilled) | 1 can (400ml) |
| Powdered sugar | 2 tablespoons |
| Vanilla extract | 1/2 teaspoon |
Instructions
1. Preparing the Pancake Batter
Step 1: In a large mixing bowl, combine the gluten-free all-purpose flour, baking powder, baking soda, salt, and sugar. Whisk these dry ingredients together until well mixed.
Step 2: In another bowl, whisk together the buttermilk, egg, vanilla extract, and melted butter. Ensure the butter is slightly cooled to prevent it from cooking the egg.
Step 3: Pour the wet ingredients into the dry ingredients. Stir gently until just combined. Be careful not to overmix; a few lumps are perfectly fine. The batter should be thick but pourable. Let the batter rest for about 5 minutes.
2. Cooking the Pancakes
Step 4: Heat a non-stick skillet or griddle over medium heat. Lightly grease with a small amount of butter or oil.
Step 5: Pour 1/4 cup of batter onto the skillet for each pancake. Spread it slightly with the back of a spoon if needed to form a circle.
Step 6: Cook the pancakes until bubbles start to form on the surface and the edges look set, about 2-3 minutes. Flip the pancakes and cook for another 1-2 minutes, until golden brown and cooked through.
Step 7: Remove the pancakes from the skillet and keep them warm in a low oven or covered with a clean kitchen towel. Repeat with the remaining batter.
3. Making the Whipped Coconut Cream
Step 8: Before starting, make sure your coconut cream is chilled. This helps it whip up more easily. If the cream and liquid have separated in the can, scoop out only the solid cream.
Step 9: In a chilled mixing bowl, beat the coconut cream with an electric mixer on medium-high speed until it starts to thicken.
Step 10: Add the powdered sugar and vanilla extract. Continue to whip until soft peaks form. Be careful not to overbeat, as coconut cream can become grainy if whipped too long.
4. Serving Suggestions
Plating the Pancakes
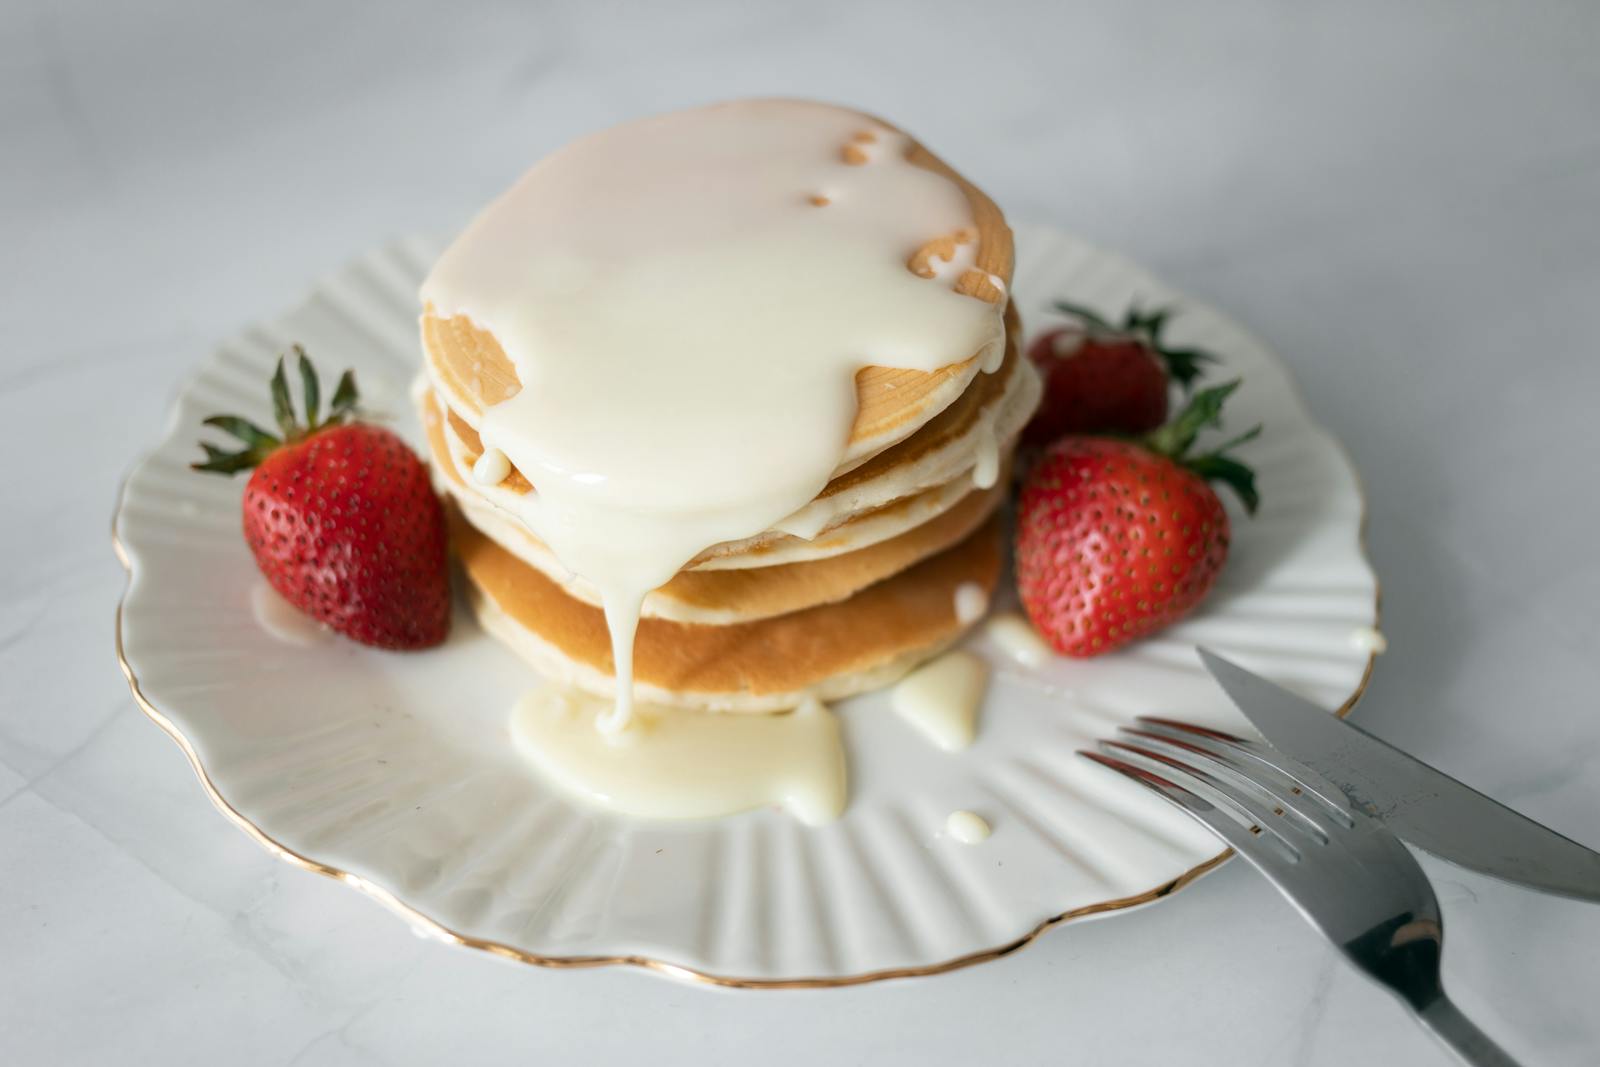
Place a stack of pancakes on a plate, adding a dollop of whipped coconut cream on top. You can also serve the whipped cream on the side in a small bowl.
Toppings and Additions
- Fresh Fruits: Blueberries, strawberries, or banana slices make a delicious addition.
- Maple Syrup: A drizzle of pure maple syrup enhances the sweetness.
- Nuts and Seeds: A sprinkle of chopped nuts or seeds adds a nice crunch.
Tips for Perfect Pancakes
- Use Fresh Ingredients: Ensure your baking powder and soda are fresh for maximum rise.
- Rest the Batter: Allowing the batter to rest helps the pancakes become fluffier.
- Temperature Control: Cook on medium heat to prevent burning and ensure even cooking.
- Chill the Coconut Cream: The cream whips better when cold, so don’t skip this step.
Storage and Reheating
- Refrigerating Pancakes: Store leftover pancakes in an airtight container in the refrigerator for up to 3 days.
- Freezing Pancakes: Place a piece of parchment paper between each pancake and freeze them in a zip-lock bag for up to 2 months.
- Reheating Pancakes: Warm the pancakes in a toaster or oven until heated through.
Conclusion
Making fluffy gluten-free pancakes at home doesn’t have to be a daunting task. With this easy-to-follow recipe, you can enjoy a delicious and satisfying breakfast that caters to your dietary needs without compromising on taste or texture. The whipped coconut cream adds a luxurious touch, making these pancakes a delightful treat for any morning. Whether you’re cooking for yourself, your family, or guests, these pancakes are sure to impress.
Enjoy your gluten-free pancakes with your favorite toppings, and don’t forget to share the love by passing this recipe along to friends and family!
